I’ve seen recipes for oak gall ink in the past, but it wasn’t until my daughter asked to use black icing for ink, that I decided to try our hand at making some. Oak gall ink, or iron gall ink as it’s commonly called, uses the reaction between the tannins in oak galls and iron to create a dark black ink. At one time it was very common, and it was used to write the original Declaration of Independence.
Locating Oak Galls (or maybe not)
The first ingredient in iron gall ink is oak galls. Oak galls are caused by gall wasps laying their eggs in oak leaves or branches. They are high in tannins since the tannins are concentrated in the galls as a defense mechanism of the oak tree.

There is a big oak tree on the way to the chicken coop, so that is where I began my search. I found two right away, so I called my daughter out to look for more. However, the first two were all we found.
Soon my daughter wandered off to join her brothers who work in our shop on Fridays. I decided to look in the woods since I wasn’t willing to give up so quickly. Although, I found many oak leaves littering the forest floor, I couldn’t find any galls. It may be a bad year for galls in our area.
I finally decided we would go with maple leaves, since I had read they are high in tannins, so I picked up a handful and headed back to the house.
Locating Ferrous Sulfate
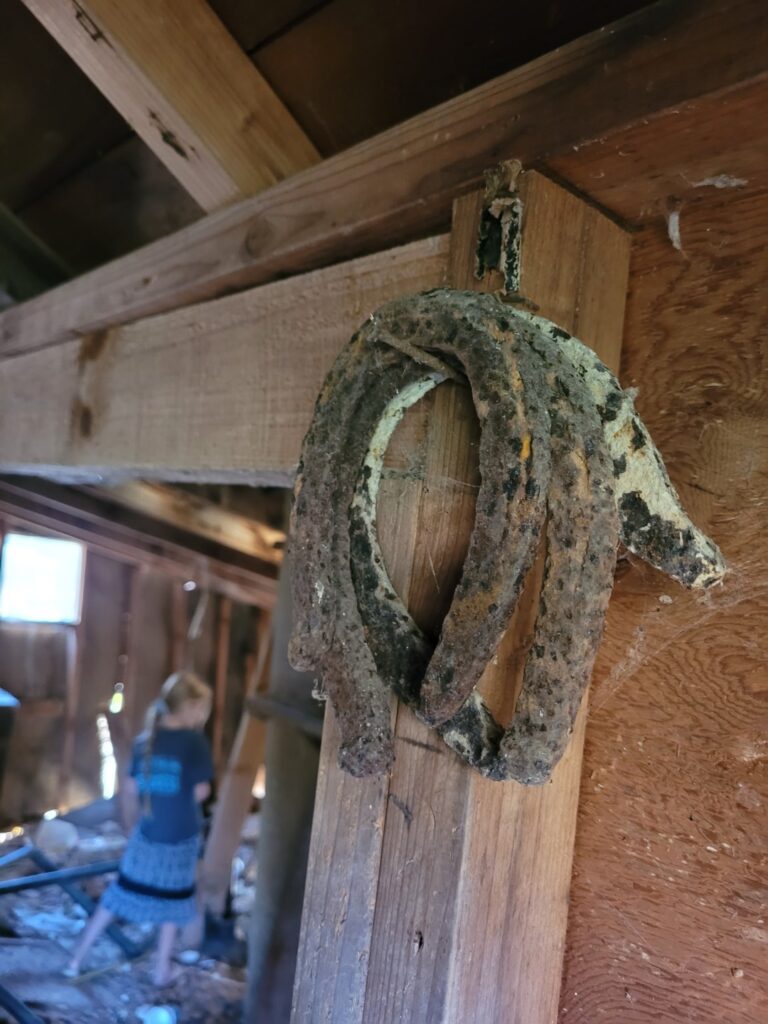
The second ingredient needed was ferrous sulfate. Now that’s not the kind of thing I normally keep around, so I started researching for substitutes. It turns out a rusty nail soaked in vinegar would provide the iron needed in the iron gall ink.
I didn’t know where to find rusty nails, but I recalled some old horsehoes hanging on the wall of a ramshackled shed that my husband has been threatening to tear down for years.
I grabbed my daughter on the way there, and soon she was happily exploring the shed. Notice I said she was happily exploring. I’m a little leary of dilapidated sheds with dubious looking floors piled with debris.
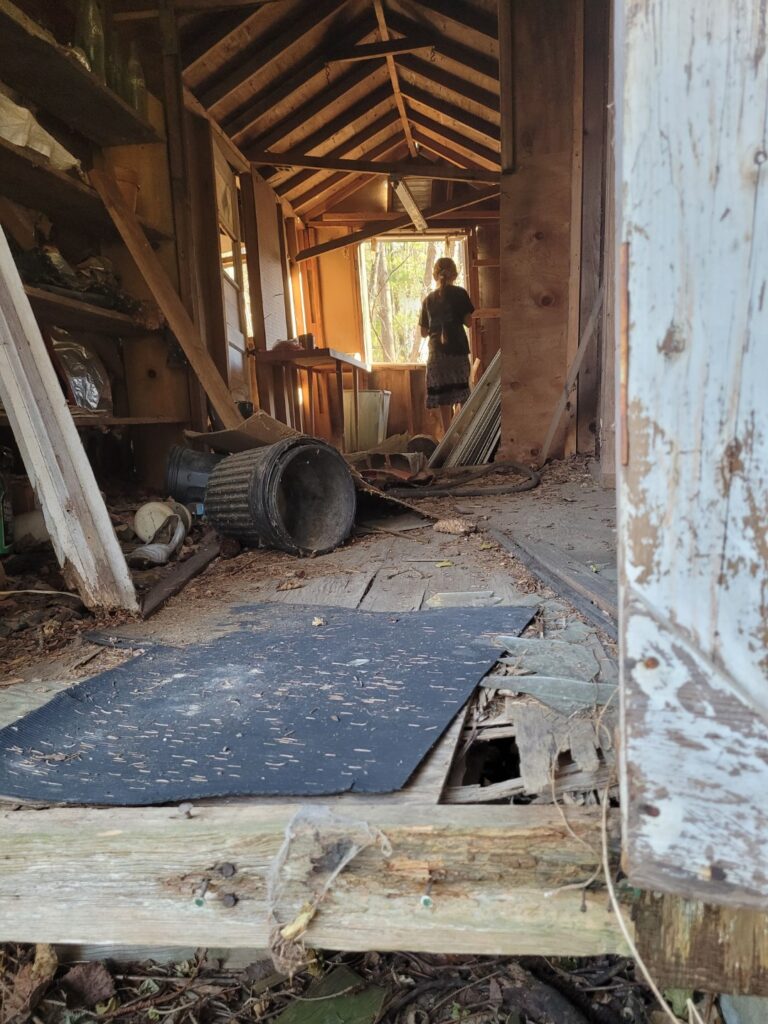
I left with an old rusty horseshoe, and she with her hands full of treasures and a resolve to change her dad’s mind about the shed.
Making the Ink
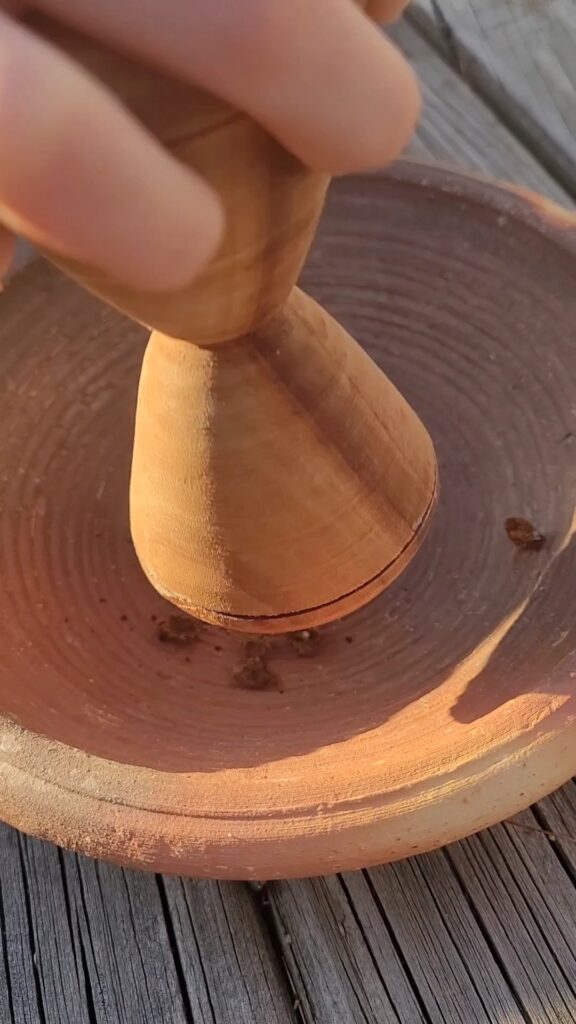
At home, we ground up the oak galls.
Crumbled in the maple leaves.
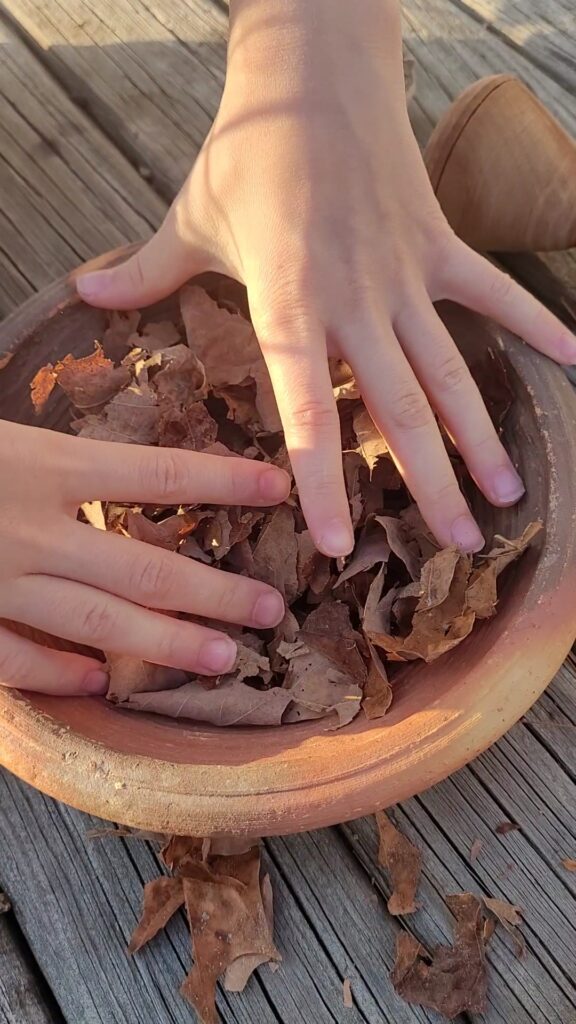
Covered the horseshoe with vinegar and the leaves and galls with water. We simmered the leaf mixture for an hour or two until the water was dark brown and had reduced down quite a bit.
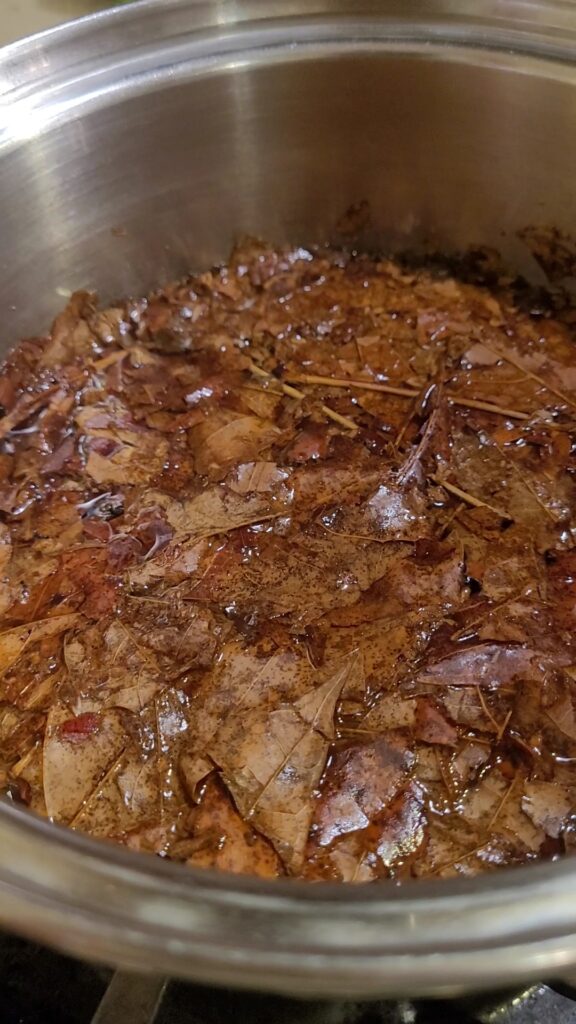
I didn’t think the horseshoe had soaked enough so I decided to wait until the next morning to add the vinegar to the mixture.
The next morning, I poured in about 1/4 cup of iron-infused vinegar. Immediately, the ink turned black.
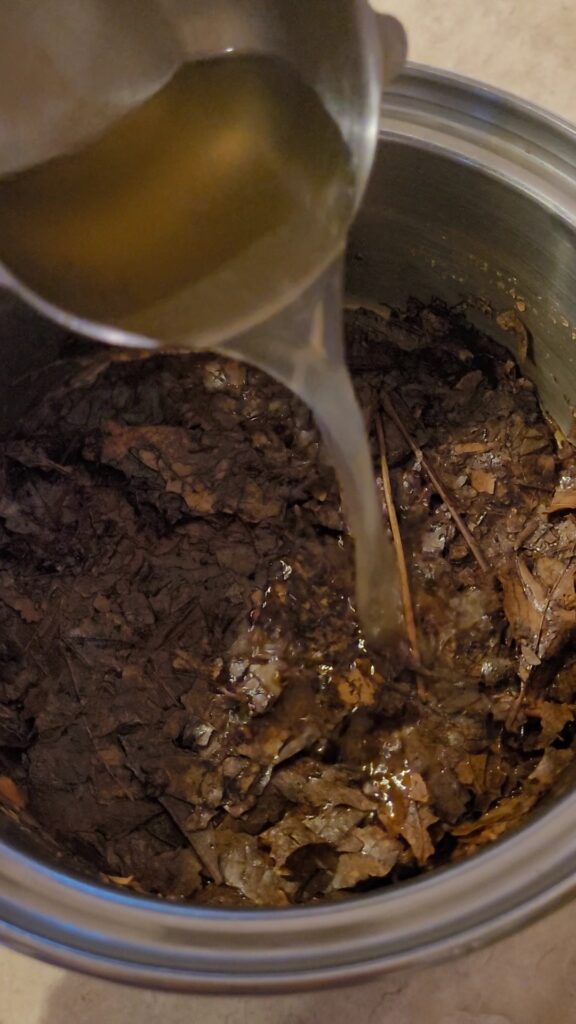
I boiled it a while longer to reduce it some more and strained it through a coffee filter. Here’s our finished product.
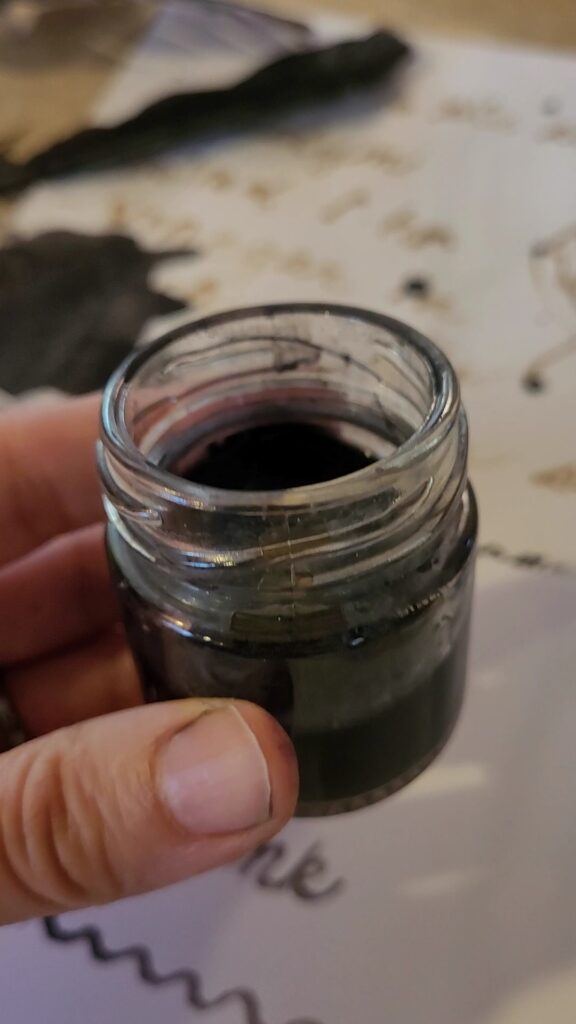
Thickening the Oak Gall Ink
Most ink recipes call for gum arabic as a thickener. I read you can also use honey, grapevine sap, or even the liquid in a can of chickpeas. You may want to do your own research on this. We didn’t thicken ours.
Preserving the Ink
You can add a whole clove (not garlic) to make your ink last longer.
Shaping the Feather
I cut the end off a chicken feather with a diagonal cut. I think I need a larger feather to make a proper quill pen and will be on a lookout for a turkey feather on our walks. Here’s a short video of how to make a proper tip on the quill. Cutting the tip of a feather allows the hollow shaft to draw up ink and then it flows by capillary action when writing.
I wish I had saved some of the ink before I added the vinegar. I really liked the brown color.
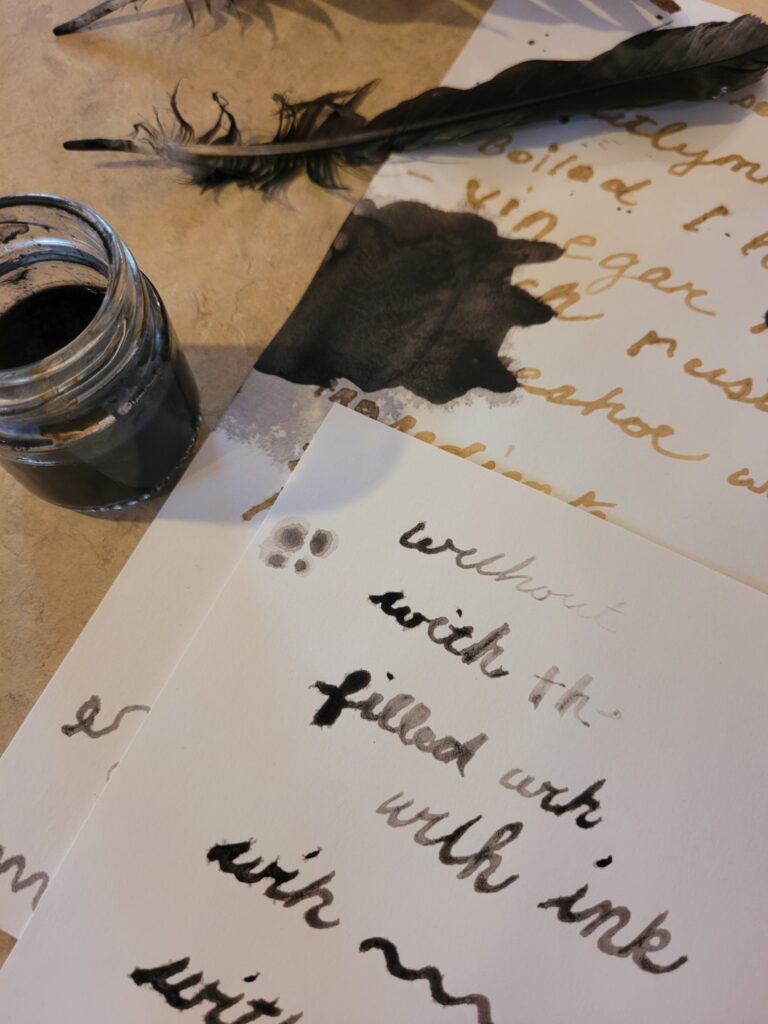
Of course you can’t make homemade ink without spilling some. My daughter said, “Just like in the books.”
This may be the begining of many more attempts at making ink from items in nature.


This is such a cool project! We look forward to doing this soon!
This is so cool! We will have to try it out. My children like to make “ink” from wild grapes, so they would love to make something more official!